How to install Folgo?
Steps on installing Folgo
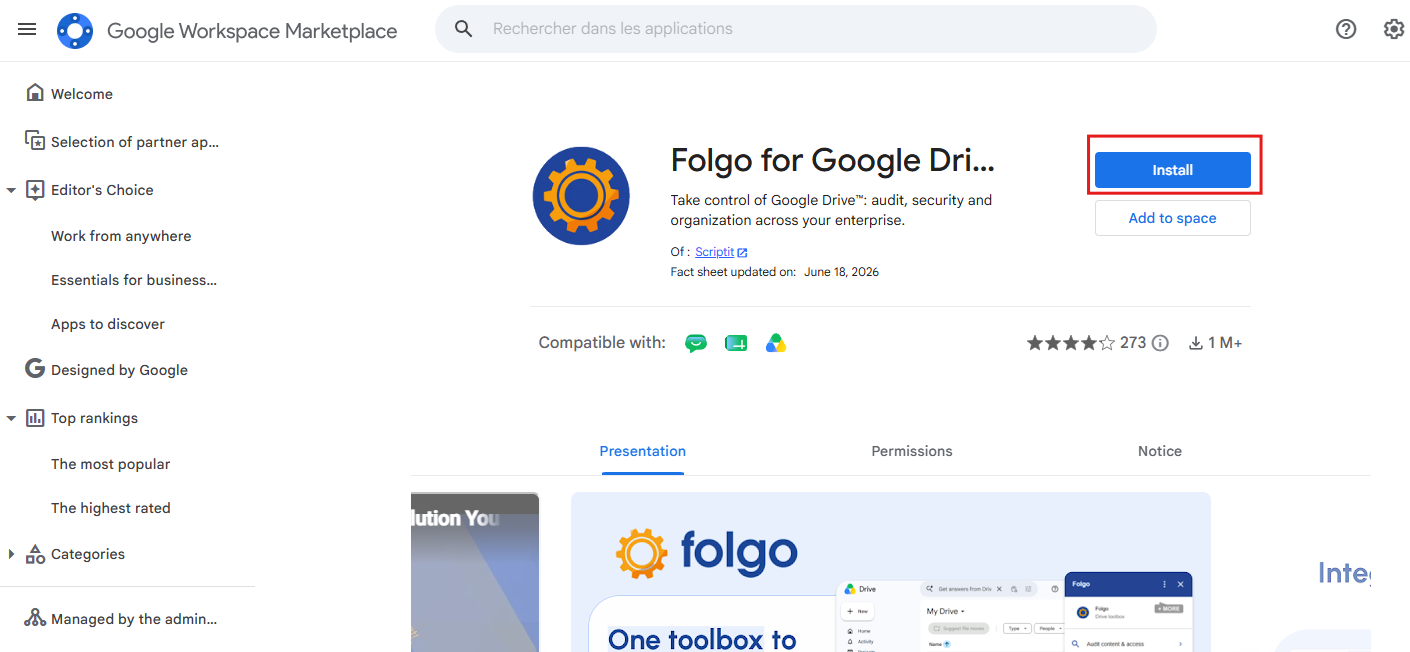
1. Get it from the Google Workspace Marketplace
Go to the Folgo page on the Google Workspace Marketplace, then click “Install” to start the installation.
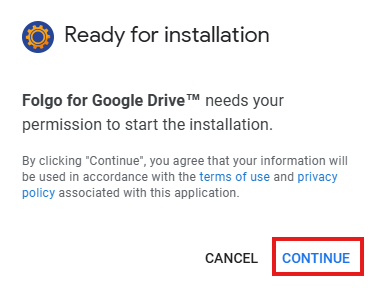
2. Choose your account and authorize Folgo
After clicking, a pop-up window will appear. Accept the Terms of Service and Privacy Policy, then click “Continue.”
Next, confirm the Google account you want to connect to Folgo.
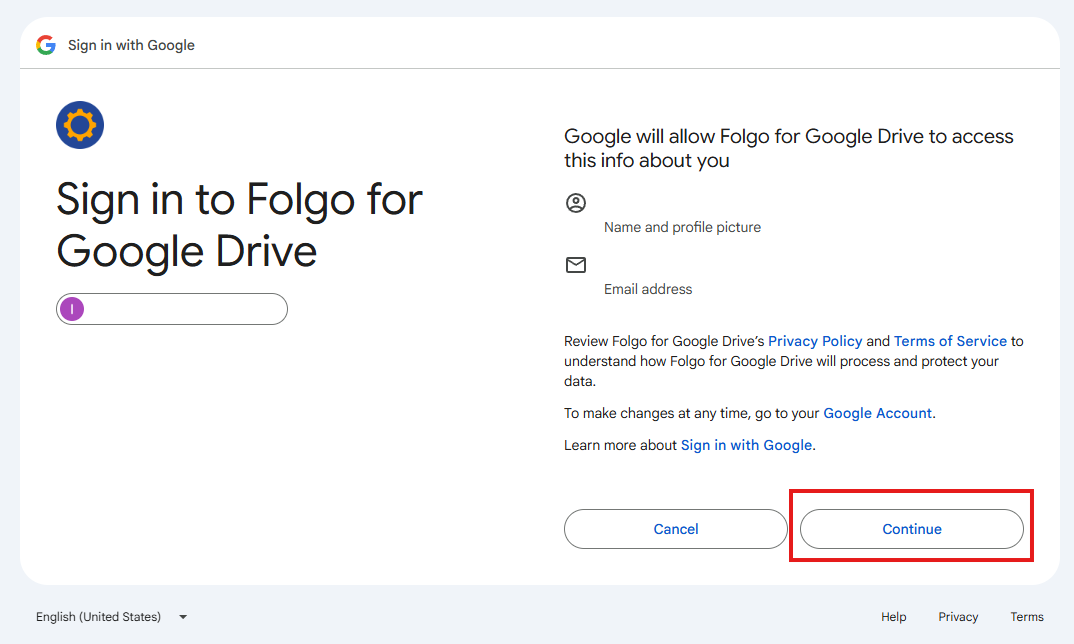
Make sure you sign in with the same Google account you used to activate Folgo. If you use a different account, Folgo may not recognize your subscription and may ask you to subscribe again.
Next, authorize Folgo to access your account and grant the required permissions. Folgo needs these permissions to work properly. Read this article to understand why they are required and how they are used.

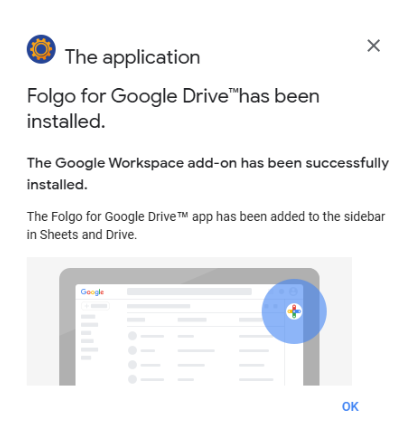
3. You are all set
Once you’ve completed the previous steps, Folgo will be available in Google Drive. The next time you open Drive, you’ll see the Folgo logo in the right-hand sidebar. Click it to get started.
Note: If you don’t see the right-hand sidebar in Google Drive, look for the small arrow in the bottom-right corner of your screen and click it to show the sidebar.

You’re ready to get more out of Folgo! Explore powerful features like:
- Copy folders: Duplicate entire Google Drive folders while keeping their structure and permissions intact.
- Audit content and access: Review files, folders, permissions, and sharing settings across Google Drive.
- Transfer ownership: Transfer ownership of multiple files or folders between two Google accounts.
- Move content to Shared Drives: Migrate content into Shared Drives, even with permission restrictions.
- Rename files/folders: Rename multiple files at once to keep your Drive organized.
- Data extraction: Search for data across Google Drive and export the results to a spreadsheet.
Helpful articles:
- Which plan is the best for you?
- Folgo plans and pricing
- Is Folgo safe? Understanding its permissions.
- Manage your subscription
© Scriptit 2026. Powered by Help Scout